When the task we are going to measure is not predefined, but rather we go to the workstation to follow the worker and take times of the different tasks being performed, we use the continuous timing screen.
When the worker starts the activity, we will start the stopwatch. While the worker performs the activity, we will rate the pace at which the worker performs the task, adjusting the value using the + / - buttons located on the sides of the stopwatch.
When the worker finishes the task being performed and moves on to the next task, we will record the time using the "lap" button that has the activity assigned. A window will then appear where we can dictate the description of the task just completed using voice commands.
From that same moment when we have recorded the time, the timing of the next task is already being measured. In this way, we will record the different tasks performed by the worker and their times.
View questionnaire
Complete lesson
Next lesson
Restart lesson
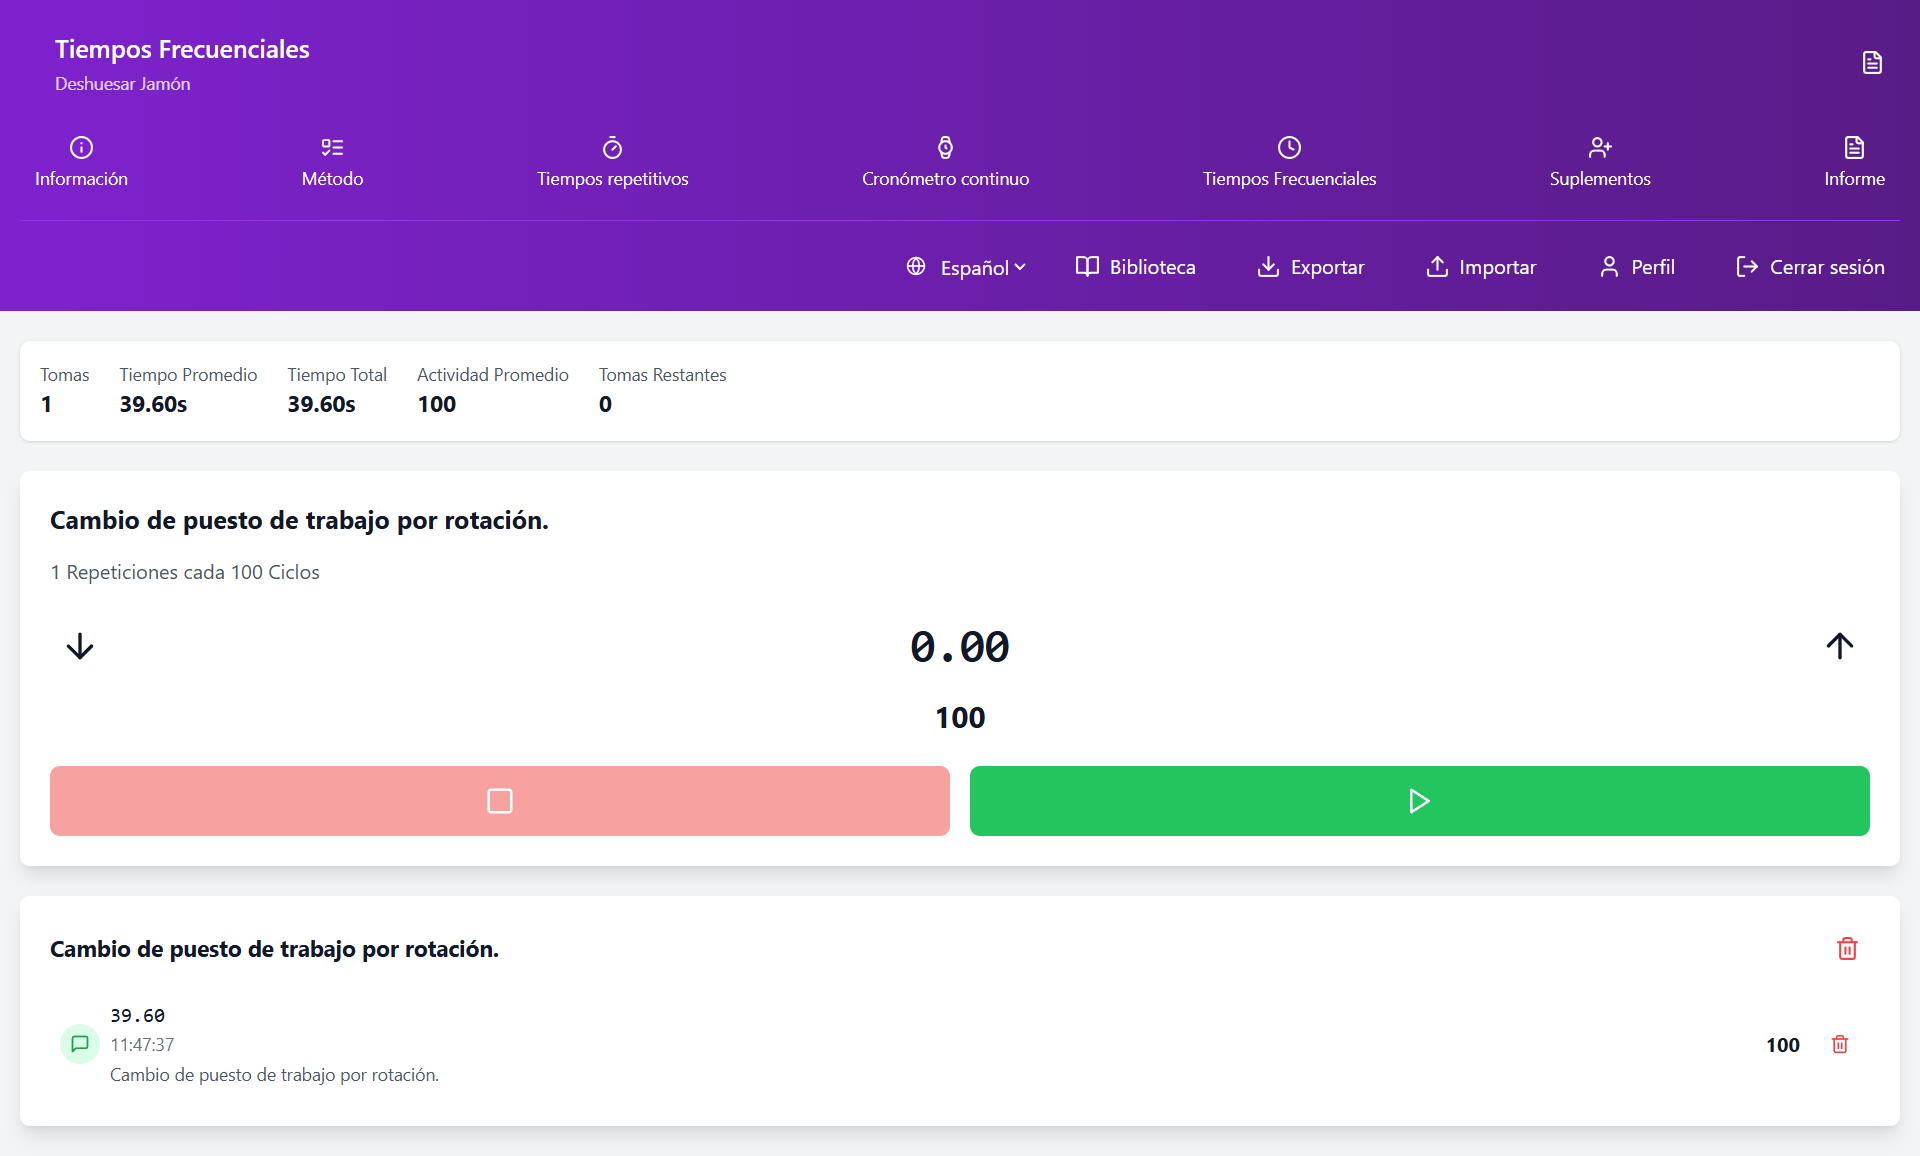
Once we have recorded all the times of the tasks we wanted to measure, we will click on the stop button, so that we will have available the list of the different tasks along with their times and rated paces.
Above the stopwatch, a button with a "save" icon and a green background will also appear. If we click on it, it will ask us if we want to transfer all the elements we have timed to our work method. This will make ALL of them be transferred as NEW ELEMENTS and as REPETITIVE ELEMENTS.
In case we do not wish to transfer them all as new and repetitive elements, to the left of the description of each task we will have a button with a plus symbol. By clicking on it, a window will open that will allow us to add that task to our work method individually.
To do this, we must select the different data that the screen asks for and, at the end, press the save button.
Type: we will select whether it is a repetitive, frequency, or machine element. In the case that the selection is "Repetitive", another row will appear in which we must select whether it is a new element or if this element was already added to our work method.
Rated pace
Frequency
Man-machine relationship: we must select whether it is a machine stopped element, machine running element, or machine time.
In this way, we can not only take the times of a long task, but we can also take different measurements of the same task. When transferring the time to the method, if it is a new measurement, we will define it as a New Element = No, then a window will open to select the element to which we want to assign that time.
Each time we press the save button, that element will be registered in our method screen if it is a new element, or it will be assigned as a new measurement if it is not.
How to edit a time or a description?
Sometimes we may need to edit a time. To do this, we will swipe from right to left.
To edit a description, you just need to click on the description you want to edit, and a voice recognition window will appear so you can dictate the description again.
Delete a time
To remove a time from our list of times and descriptions, we must make a long click on the time to be removed. This will bring up a confirmation window.
Conclusion
Mastering industrial time study techniques is essential for any professional seeking to optimize production processes. The systematic application of these methods not only improves operational efficiency but also significantly contributes to cost reduction and increased business competitiveness. Remember that precision in measurement and rigorous data analysis are the basis for establishing reliable time standards that drive continuous improvement in your organization.