Introduction
There is a fundamental truth: we cannot effectively manage what we cannot measure. While intuition and experience are valuable, to achieve significant and sustainable improvements in productivity, costs, and efficiency, we need objective and reliable data. This is where Time and Motion Study (TMS), a classic industrial engineering technique, demonstrates its enduring power.
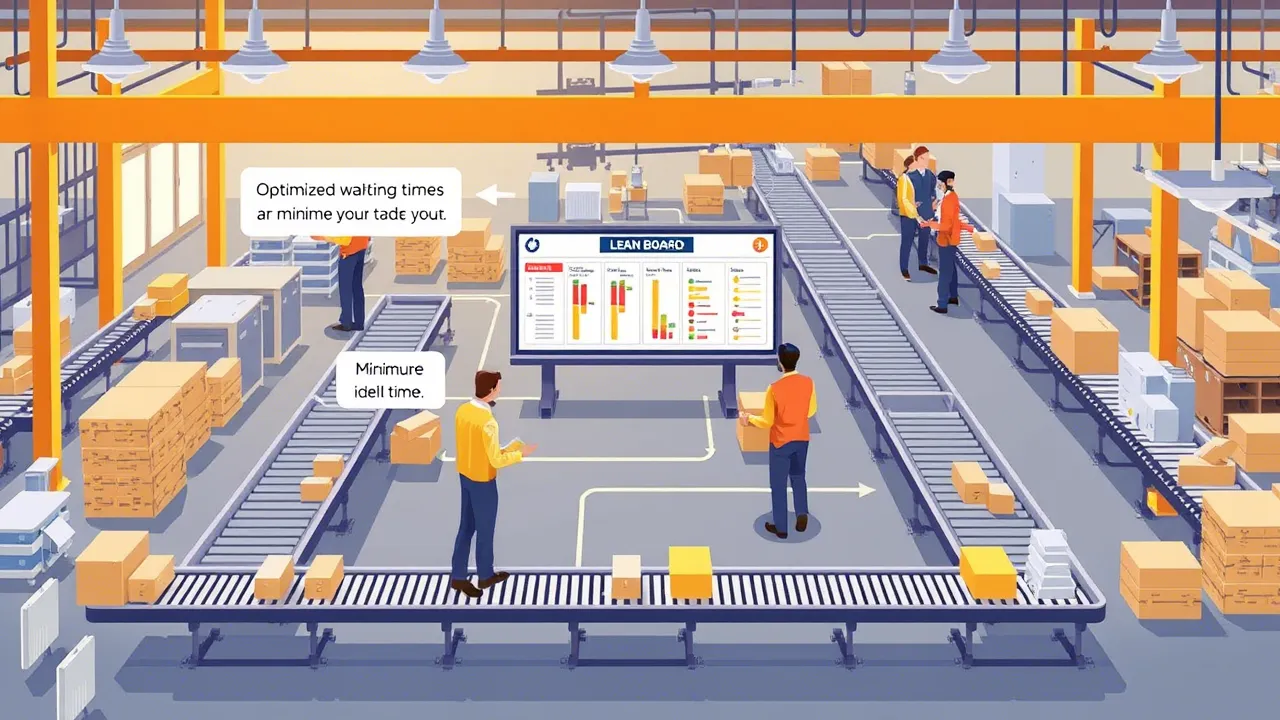
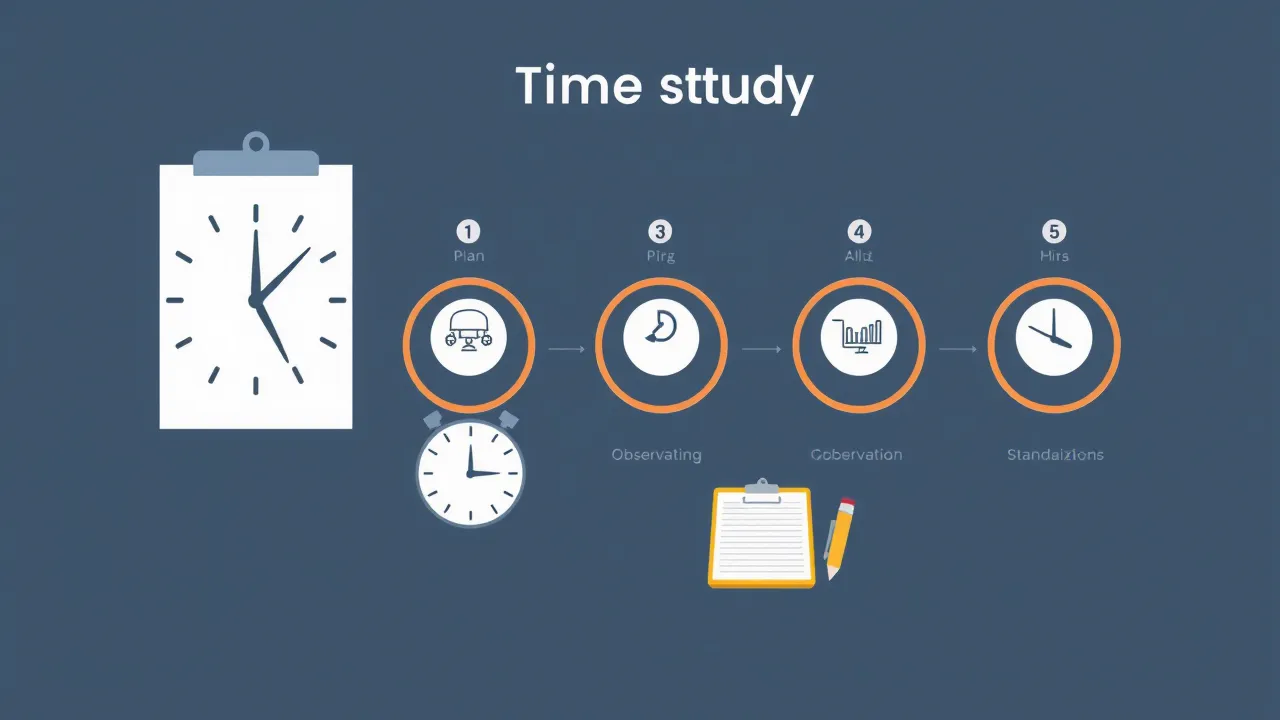
This time and motion study is a systematic methodology designed to analyze work methods, optimize the movements involved, and establish realistic standard times for performing specific tasks. It's not just about "watching with a stopwatch," but a deep analysis that seeks efficiency in every gesture and every second.
If you're wondering how to conduct a time and motion study that truly adds value, you've come to the right place. This time and motion study guide will take you through the steps for an effective time and motion study, from initial planning to the final calculation of standard time, providing a robust framework for improving your operations.
I. Study Preparation and Planning: Laying the Foundations for Success
Even before taking out the stopwatch, meticulous preparation is crucial. Skipping this phase is the recipe for unreliable data and erroneous conclusions.
Step 1: Clearly Define the Study Objective
Why are we conducting this TMS? The objective will guide the entire process. Some common objectives include:
- Establishing a standard time for a new task or an existing one without a standard.
- Identifying and quantifying bottlenecks or inefficiencies in a process.
- Evaluating the feasibility or impact of a proposed new work method.
- Comparing the efficiency of two or more alternative methods.
- Providing accurate data for product cost calculation.
- Establishing bases for wage incentive systems.
Step 2: Select the Task or Operation to Study
Not all tasks require a detailed TMS. Prioritize based on criteria such as:
- High Volume/Repetitiveness: Tasks performed frequently offer greater savings potential.
- Problematic Tasks: Those identified as bottlenecks, with high costs, that generate complaints, or have low quality.
- New Processes: To establish standards from the beginning.
- Key Tasks: Those with a significant impact on the overall production flow.
Step 3: Transparent Communication with All Involved
This is perhaps the most critical step at the human level. Openly and honestly inform the operators who will perform the task, their direct supervisors, and, if applicable, union representatives. Explain:
- The purpose: Emphasize that the objective is to improve the process, not evaluate or punish the individual. The goal is method efficiency, not operator speed.
- The methodology: How the study will be conducted (observation, timing).
- Their role: What is expected of them (working at a normal and constant pace, following the standard method).
- Confidentiality (if applicable): How the data will be used.
Lack of communication generates fear, distrust, and resistance, which invalidates any study. Gaining the operator's trust and cooperation is fundamental.
Step 4: Analyze and Standardize the Current Work Method
Don't measure chaos! Before timing, make sure the method you're going to study is:
- Standardized: Do all operators perform the task in the same way? If not, define and document THE standard method to follow. This may involve creating instruction sheets or flowcharts.
- Reasonably Optimized: Observe the current method. Are there clearly unnecessary movements, poorly located tools, avoidable waits? Make obvious improvements before measuring. This is the "motion study" component. Consider principles of motion economy (use of both hands, curved movements, etc.).
- Stable: Ensure that conditions (materials, tools, layout, environment) are consistent.
Step 5: Select the Appropriate Operator for the Study
Choose a worker who is:
- Qualified and Trained: Who knows the task well and follows the standard method.
- Representative: Who works at a pace considered "normal" or average, neither exceptionally fast nor slow.
- Cooperative: Willing to participate after the communication in Step 3.
- Consistent: Whose work pace does not fluctuate drastically.
Step 6: Prepare the Recording Material and Forms
Gather everything necessary:
- Time Study Forms: Designed to record the elements, observed times, pace rating, and calculations. They can be physical or digital (spreadsheets, specialized apps).
- Stopwatch: Preferably decimal (measuring in hundredths or thousandths of a minute or second). Make sure it is calibrated and works correctly.
- Clipboard: To hold the forms.
- Pencil/Pen.
- Calculator or Software: For subsequent calculations.
- (Optional but Recommended) Video Camera: Allows reviewing the operation offline, identifying micro-movements, and validating observations. Make sure you have permission to record.
II. Breaking Down the Task into Elements: Divide and Conquer
Once the groundwork is prepared, the next step is to dissect the task.
Step 7: Detailed Preliminary Observation (Without Stopwatch)
Before measuring, observe several complete cycles of the task as performed by the selected operator following the standardized method. Familiarize yourself with the sequence, movements, and possible start and end points of each sub-part.
Step 8: Identify, Define, and Delimit the Elements
Divide the complete work cycle into its basic components or "elements." A good element should be:
- Easily Identifiable: With clear and perceptible start and end points (often marked by a sound, a change in direction, contact with an object, etc.). These are the "break points."
- As Short as Possible, But Measurable: Generally, it is recommended that they last more than 2-3 seconds to allow accurate measurement, but not so long that they group very different actions.
- Logical and Coherent: Group related actions.
- Distinguishable: Clearly separate:
- Manual Elements vs. Machine Elements: The operator controls the former, the machine the latter.
- Constant vs. Variable Elements: Some always take the same time, others vary (e.g., walking a variable distance).
- Regular vs. Irregular/Contingent Elements: Regular ones occur in each cycle; irregular ones, only occasionally (e.g., replenishing material, cleaning a nozzle). The latter are measured and analyzed separately.
Step 9: Record the Elements on the Form
List the identified elements sequentially on your study sheet. Describe each one clearly, concisely, and unambiguously so that anyone can understand what action it represents.
III. Timing and Direct Observation: Data Capture
Now, it's time to measure.
Step 10: Choose the Timing Technique
There are two main methods:
- Snapback: The stopwatch is started at the beginning of each element and stopped and reset to zero at the end of it. It is simple to read directly, but there may be a small loss of time in resetting and it does not capture the totality of time.
- Continuous: The stopwatch is started at the beginning of the first element of the first cycle and continues running throughout the study. The accumulated time is noted at the end of each element. Individual element times are calculated later by subtraction. It is more accurate, captures all time (including unforeseen delays), and is generally the preferred method by professionals.
Step 11: Proper Positioning of the Analyst
Position yourself so that you have a clear and unobstructed view of the entire operation, without interfering with the operator's work or distracting them. Maintain a consistent position throughout the study.
Step 12: Perform the Measurements (Time and Observe)
This is the core of data collection:
- Start Timing: At the beginning of the first element of the cycle.
- Record Times: Note the time read on the stopwatch (accumulated or snapback) in the corresponding box on the form at the end of each element (at the defined break point).
- Rate the Pace: Simultaneously with taking times, evaluate the pace or speed of execution of the operator for each element compared to a mental concept of "normal pace" (100%). Record this rating (e.g., 90, 100, 110) on the form. This requires experience and training.
- Note Irregularities: If strange elements, fumbles, interruptions occur, or if the operator skips an element or does it out of sequence, note it clearly using predefined codes or notes. These "strange" times are generally excluded from the average calculation.
Step 13: Determine the Number of Cycles to Observe
How many times do you need to measure the complete task? There is no single magic number, it depends on:
- Cycle Duration: Shorter cycles require more observations to be representative.
- Variability: Tasks with very consistent element times need fewer cycles than those with high variability.
- Desired Confidence Level and Precision: For critical studies, statistical formulas (based on the standard deviation of preliminary readings) are used to calculate the necessary sample size.
- Rule of Thumb: As a general starting point (not statistically rigorous), for short and repetitive cycles (less than 2 minutes), between 20 and 40 observations are usually taken. For longer cycles, fewer may be sufficient (5-15). It is crucial to record enough cycles to capture normal variability.
IV. Data Analysis and Calculations: Transforming Numbers into Information
Raw data is not very useful; it must be processed.
Step 14: Calculate the Average Observed Time (OT) per Element
- Calculate Elemental Times: If you used continuous timing, subtract consecutive readings to obtain the time of each element in each cycle.
- Review and Clean Data: Examine the recorded times for each element. Identify and eliminate abnormally high or low readings that are due to clear errors, interruptions, or non-standard actions documented during observation. Always justify any eliminated data!
- Calculate the Average: Calculate the average observed time for each element by adding all valid times recorded for that element and dividing by the number of valid observations.
Step 15: Apply Pace Rating to Obtain the Basic Time (BT)
Pace rating compensates for the fact that the observed operator may have worked faster or slower than the standard "normal pace" (100%).
- Basic Time (BT) = Average Observed Time (OT) × (Average Pace Rating / 100) For example, if the OT of an element is 0.15 minutes and the average rating for that element was 110 (10% faster than normal), the BT = 0.15 * (110/100) = 0.165 minutes.
- BT represents the time it would take a qualified operator to perform the element working at a standard or normal pace.
Step 16: Determine and Apply Allowances
No operator can work continuously without rest or without facing small interruptions. Allowances are added to the Basic Time to account for these needs and contingencies:
- Personal Needs Allowances (P): Time for physiological needs (drinking water, going to the bathroom). It is usually a fixed percentage (e.g., 5%).
- Fatigue Allowances (F): Compensate for the decrease in pace due to physical or mental fatigue. They vary according to the nature of the work (posture, effort, concentration, monotony, environmental conditions). There are tables (such as those from the ILO - International Labour Organization) to estimate them.
- Contingency or Unforeseen Allowances (C): Small unavoidable delays not included in the elements (e.g., receiving brief instructions, adjusting a tool). It is usually a small percentage if applicable.
- Special Allowances: For company policies, startups, shutdowns, cleaning, etc. These allowances are added together and applied as a percentage on the total Basic Time of the cycle (adding the BTs of all regular elements).
Step 17: Calculate the Standard Time (ST)
This is the final result of the study: the time allowed to perform the complete task.
- Sum of Basic Times: Add the Basic Times (BT) of all regular elements of the cycle to obtain the Total Basic Time of the cycle.
- Apply Allowances: Standard Time (ST) = Total Basic Time × (1 + Sum of Allowances expressed as decimal) For example, if the Total BT is 1.50 minutes and the total allowances are 15% (0.15), the ST = 1.50 * (1 + 0.15) = 1.725 minutes.
- ST represents the total time a qualified worker needs to perform the task once, at a normal pace, including time margins for personal needs, fatigue, and possible contingencies.
V. Documentation and Application: Closing the Cycle
The work does not end with the calculation.
Step 18: Exhaustively Document the Entire Study
Documentation is vital for validity, traceability, and future revisions. Include:
- Clear description of the task and the objective of the study.
- Details of the work method (layout, tools, materials, conditions).
- Information about the observed operator.
- Detailed breakdown of the elements and their break points.
- All record sheets with the raw observed times.
- The pace ratings applied and their justification.
- The allowances used and their justification (reference to tables if applicable).
- All calculations step by step.
- The final resulting Standard Time.
- Date of the study and name of the analyst.
Step 19: Implement and Communicate the Standard
Once validated, the Standard Time is used for the purposes defined in Step 1: planning, cost calculation, performance evaluation, etc. Communicate the new standard to all relevant departments.
Step 20: Follow-up and Maintenance of the Standard
A standard time is not forever. It should be reviewed periodically and, fundamentally, a new study should be conducted if there are significant changes in:
- The work method.
- The tools or machinery used.
- The materials.
- The product design.
- The working conditions.
Additional Tips for an Effective Time and Motion Study
- Practice is Key: Especially for pace rating. Consider specific training if you are new.
- Build Trust: Honest communication and transparency with operators are more important than any technique.
- Video is Your Ally: Recording the operation allows reviewing details, analyzing fine movements (micro-movements), and validating observations afterward.
- Leverage Technology: Specialized software can greatly streamline data collection, calculations, study management, and the application of standardized allowances.
- Prioritize Method Improvement: Remember the "motion" part. Often, the biggest gains come from simplifying the method before rigorously measuring it.
Conclusion
Conducting a time and motion study effectively is a methodical and detailed process, but the benefits it brings are invaluable. Following these steps for a time and motion study, from careful preparation to final documentation, you will transform subjective observations into objective and actionable data. This time and motion study guide provides you with the framework to understand how to conduct a time and motion study that not only measures work, but also lays the foundations for real optimization and significant continuous improvement in your industrial operations. The key is in the rigor and systematic application of each phase!